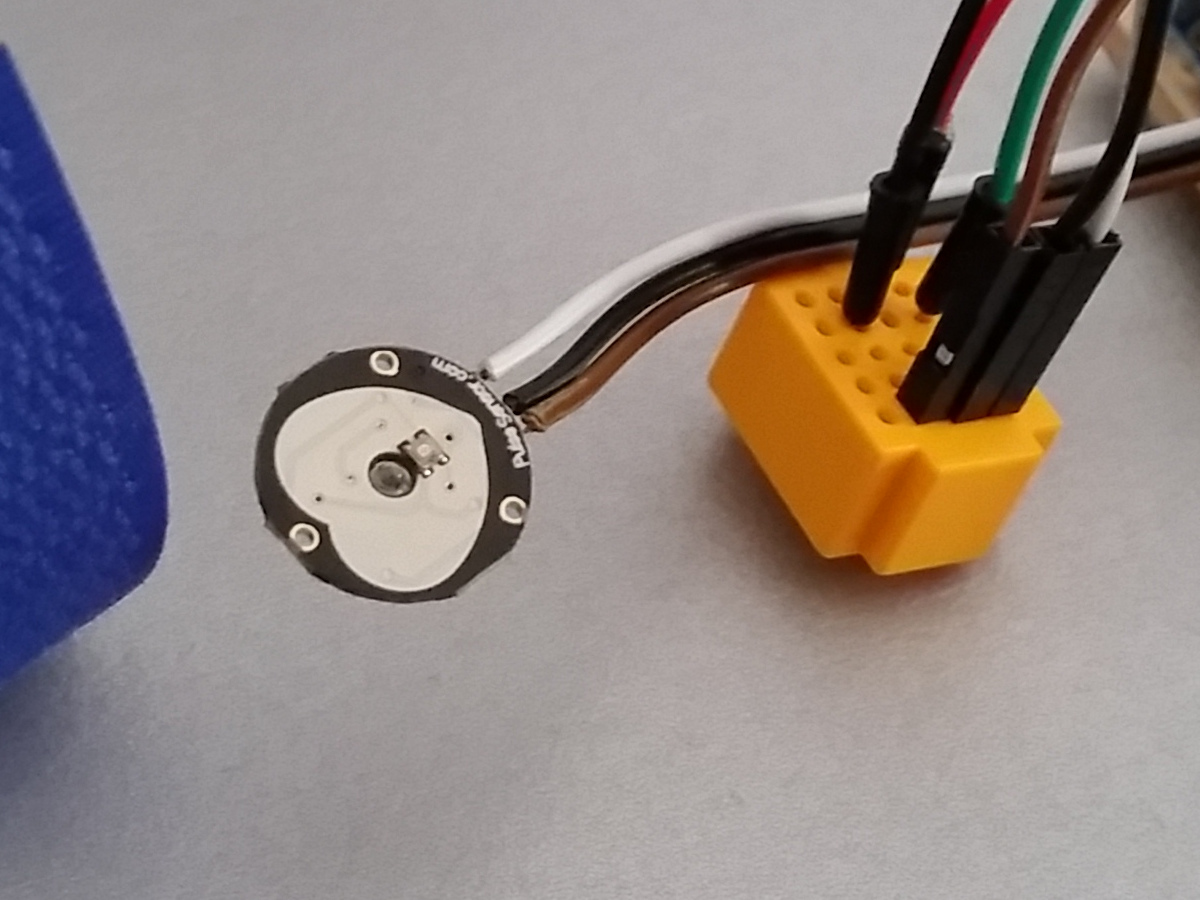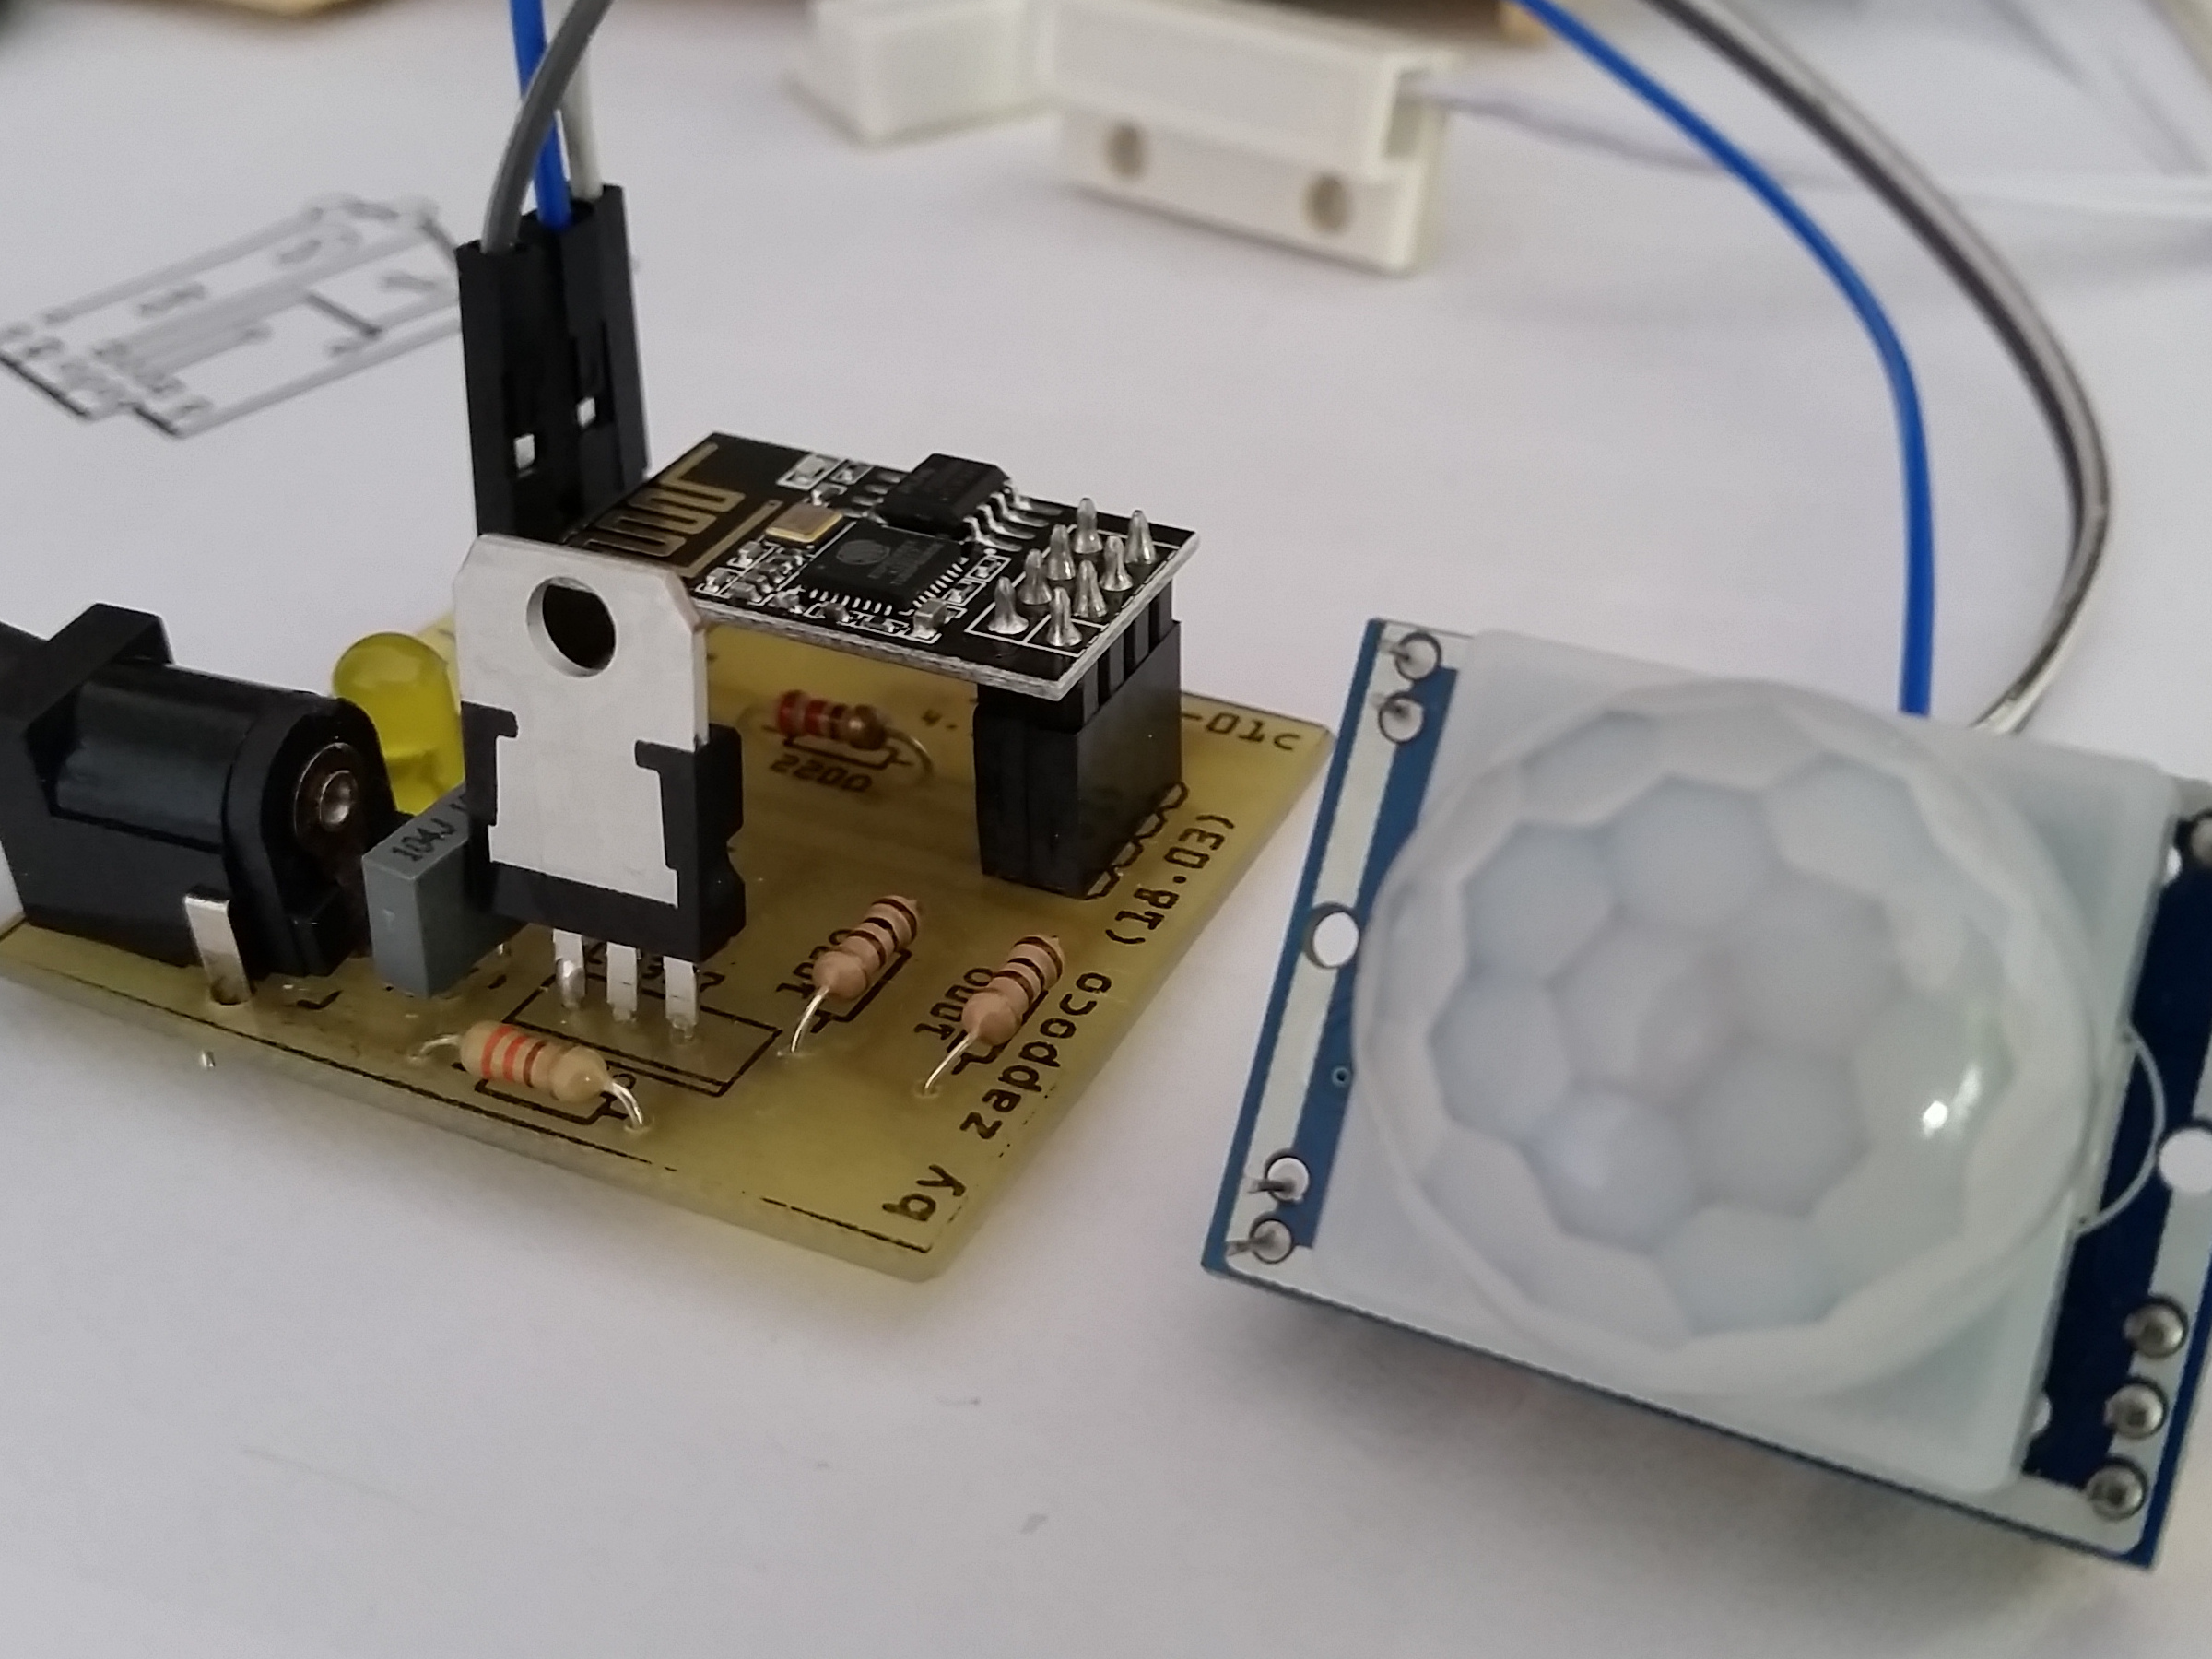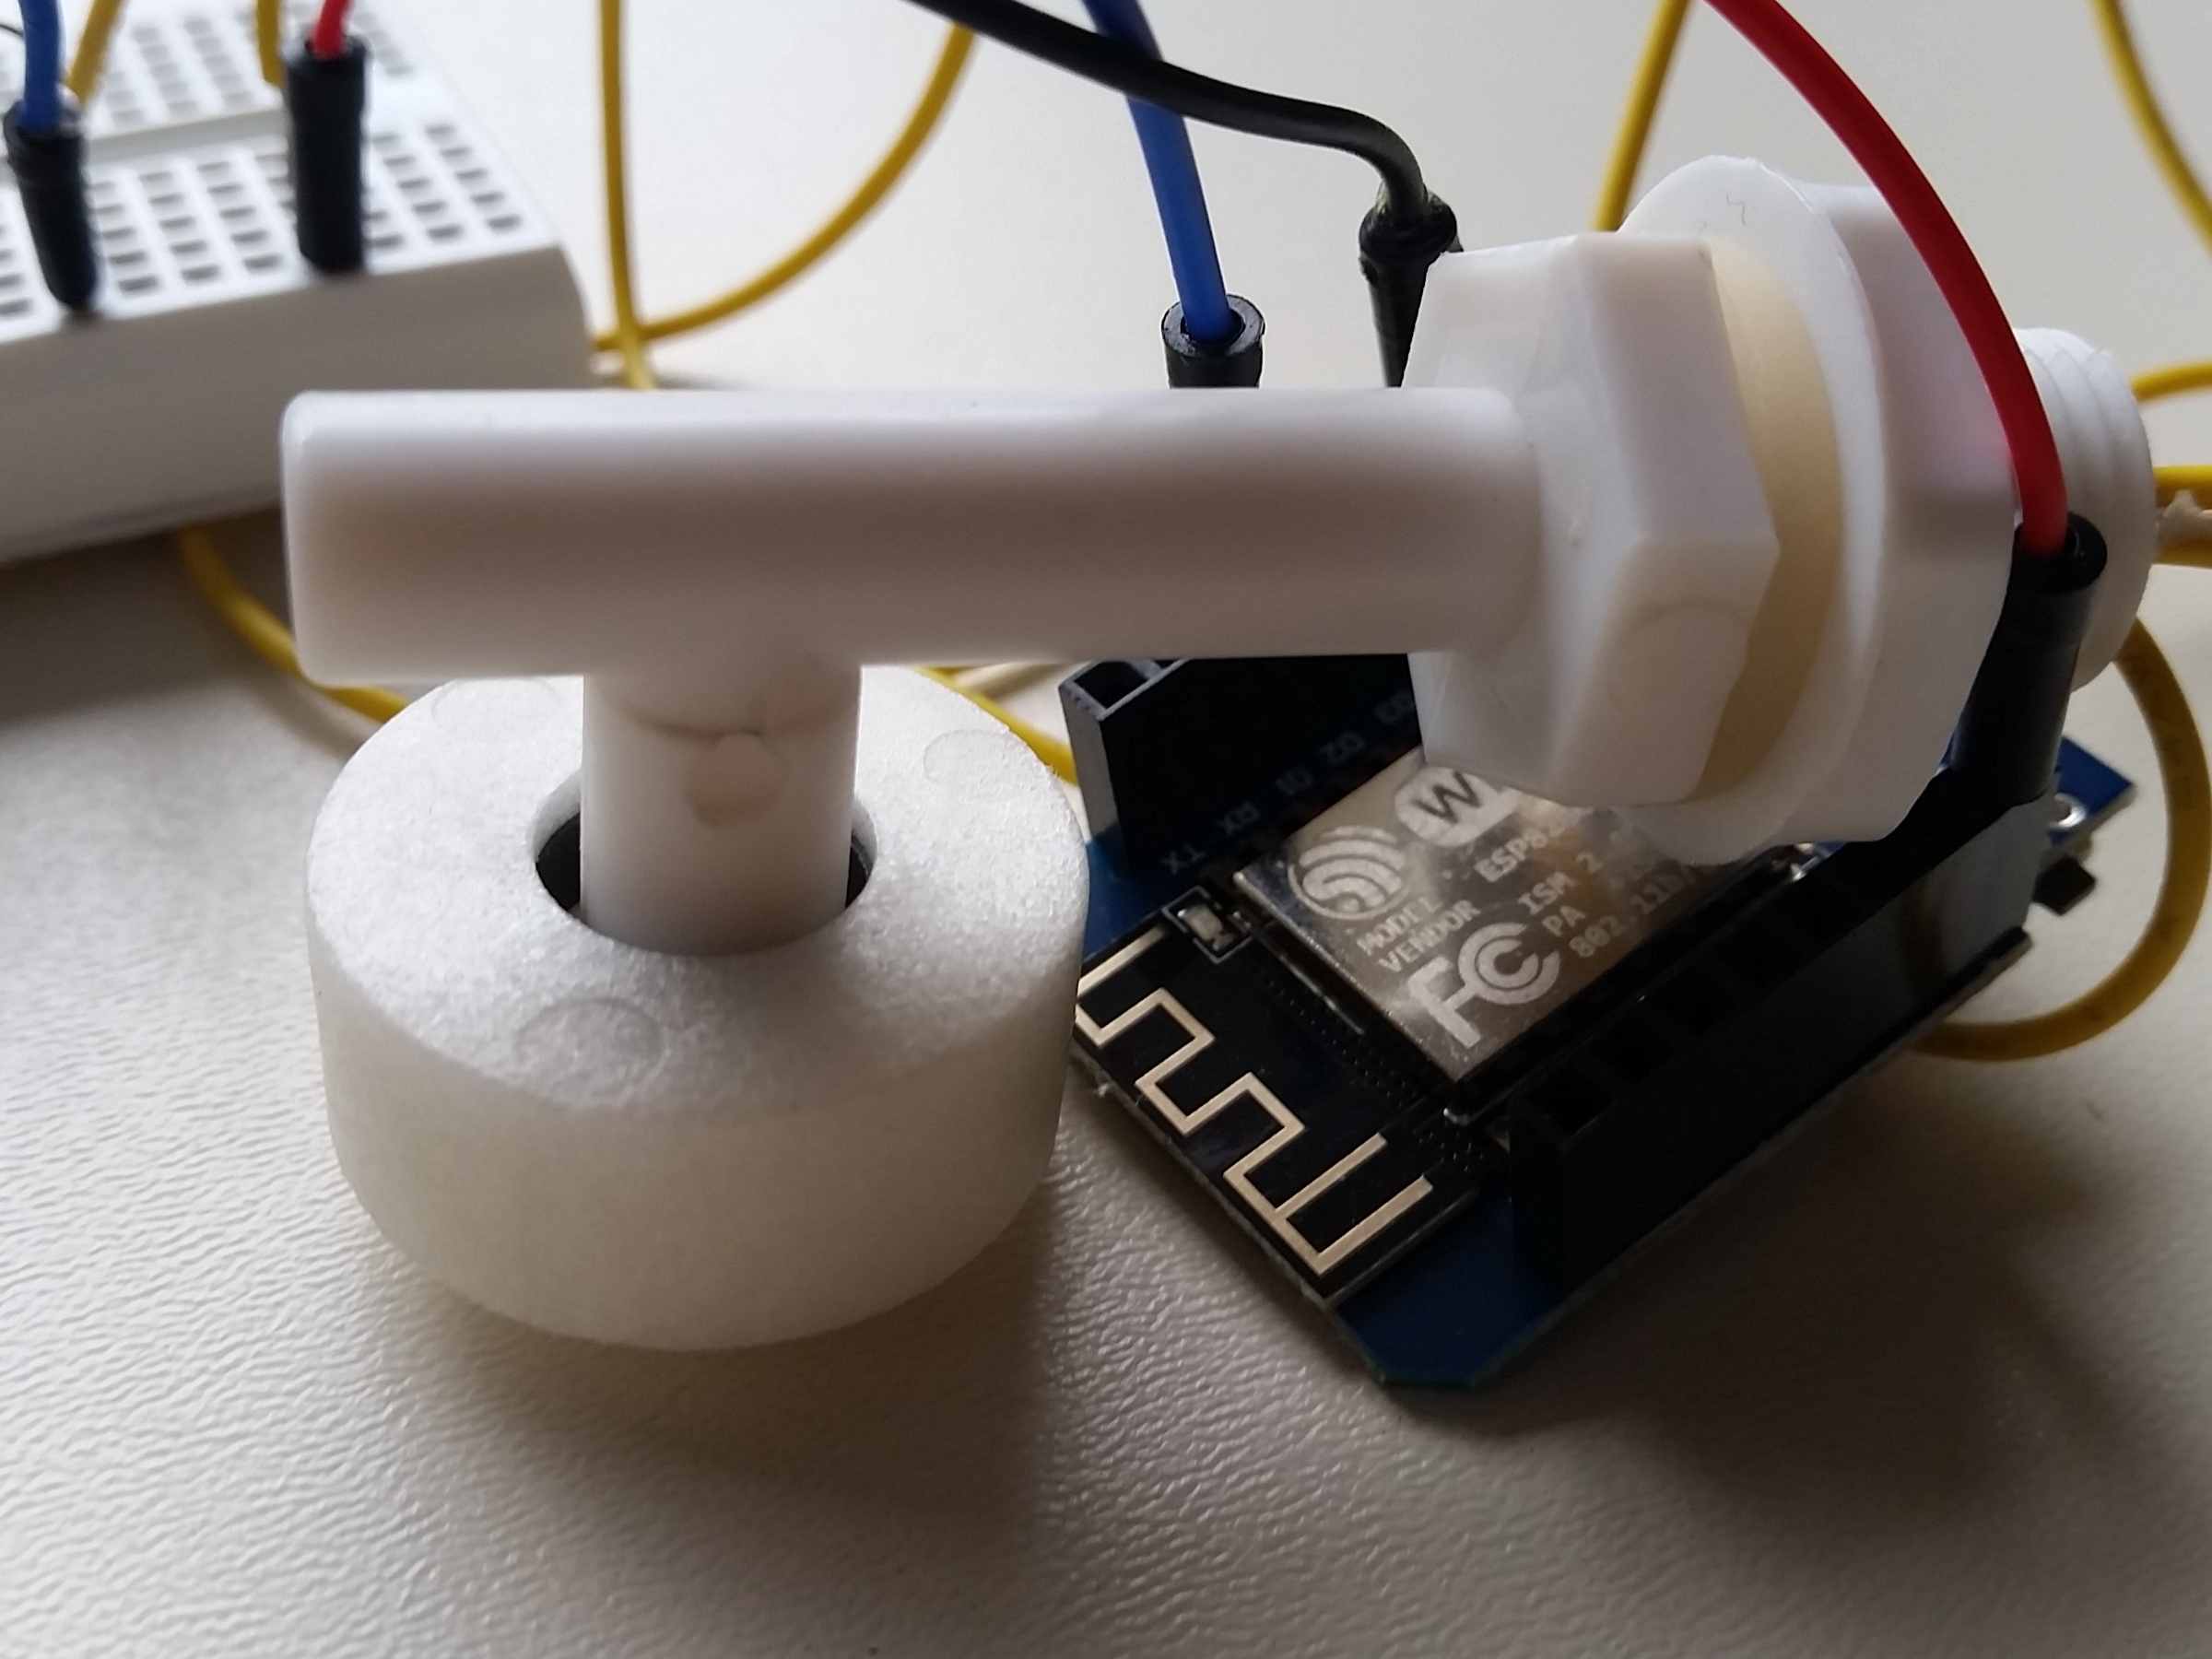
PitPulseSensor utilizzo del sensore per la misura dei battiti del cuore
L'utilizzo del sensore per la misura dei battiti del cuore.

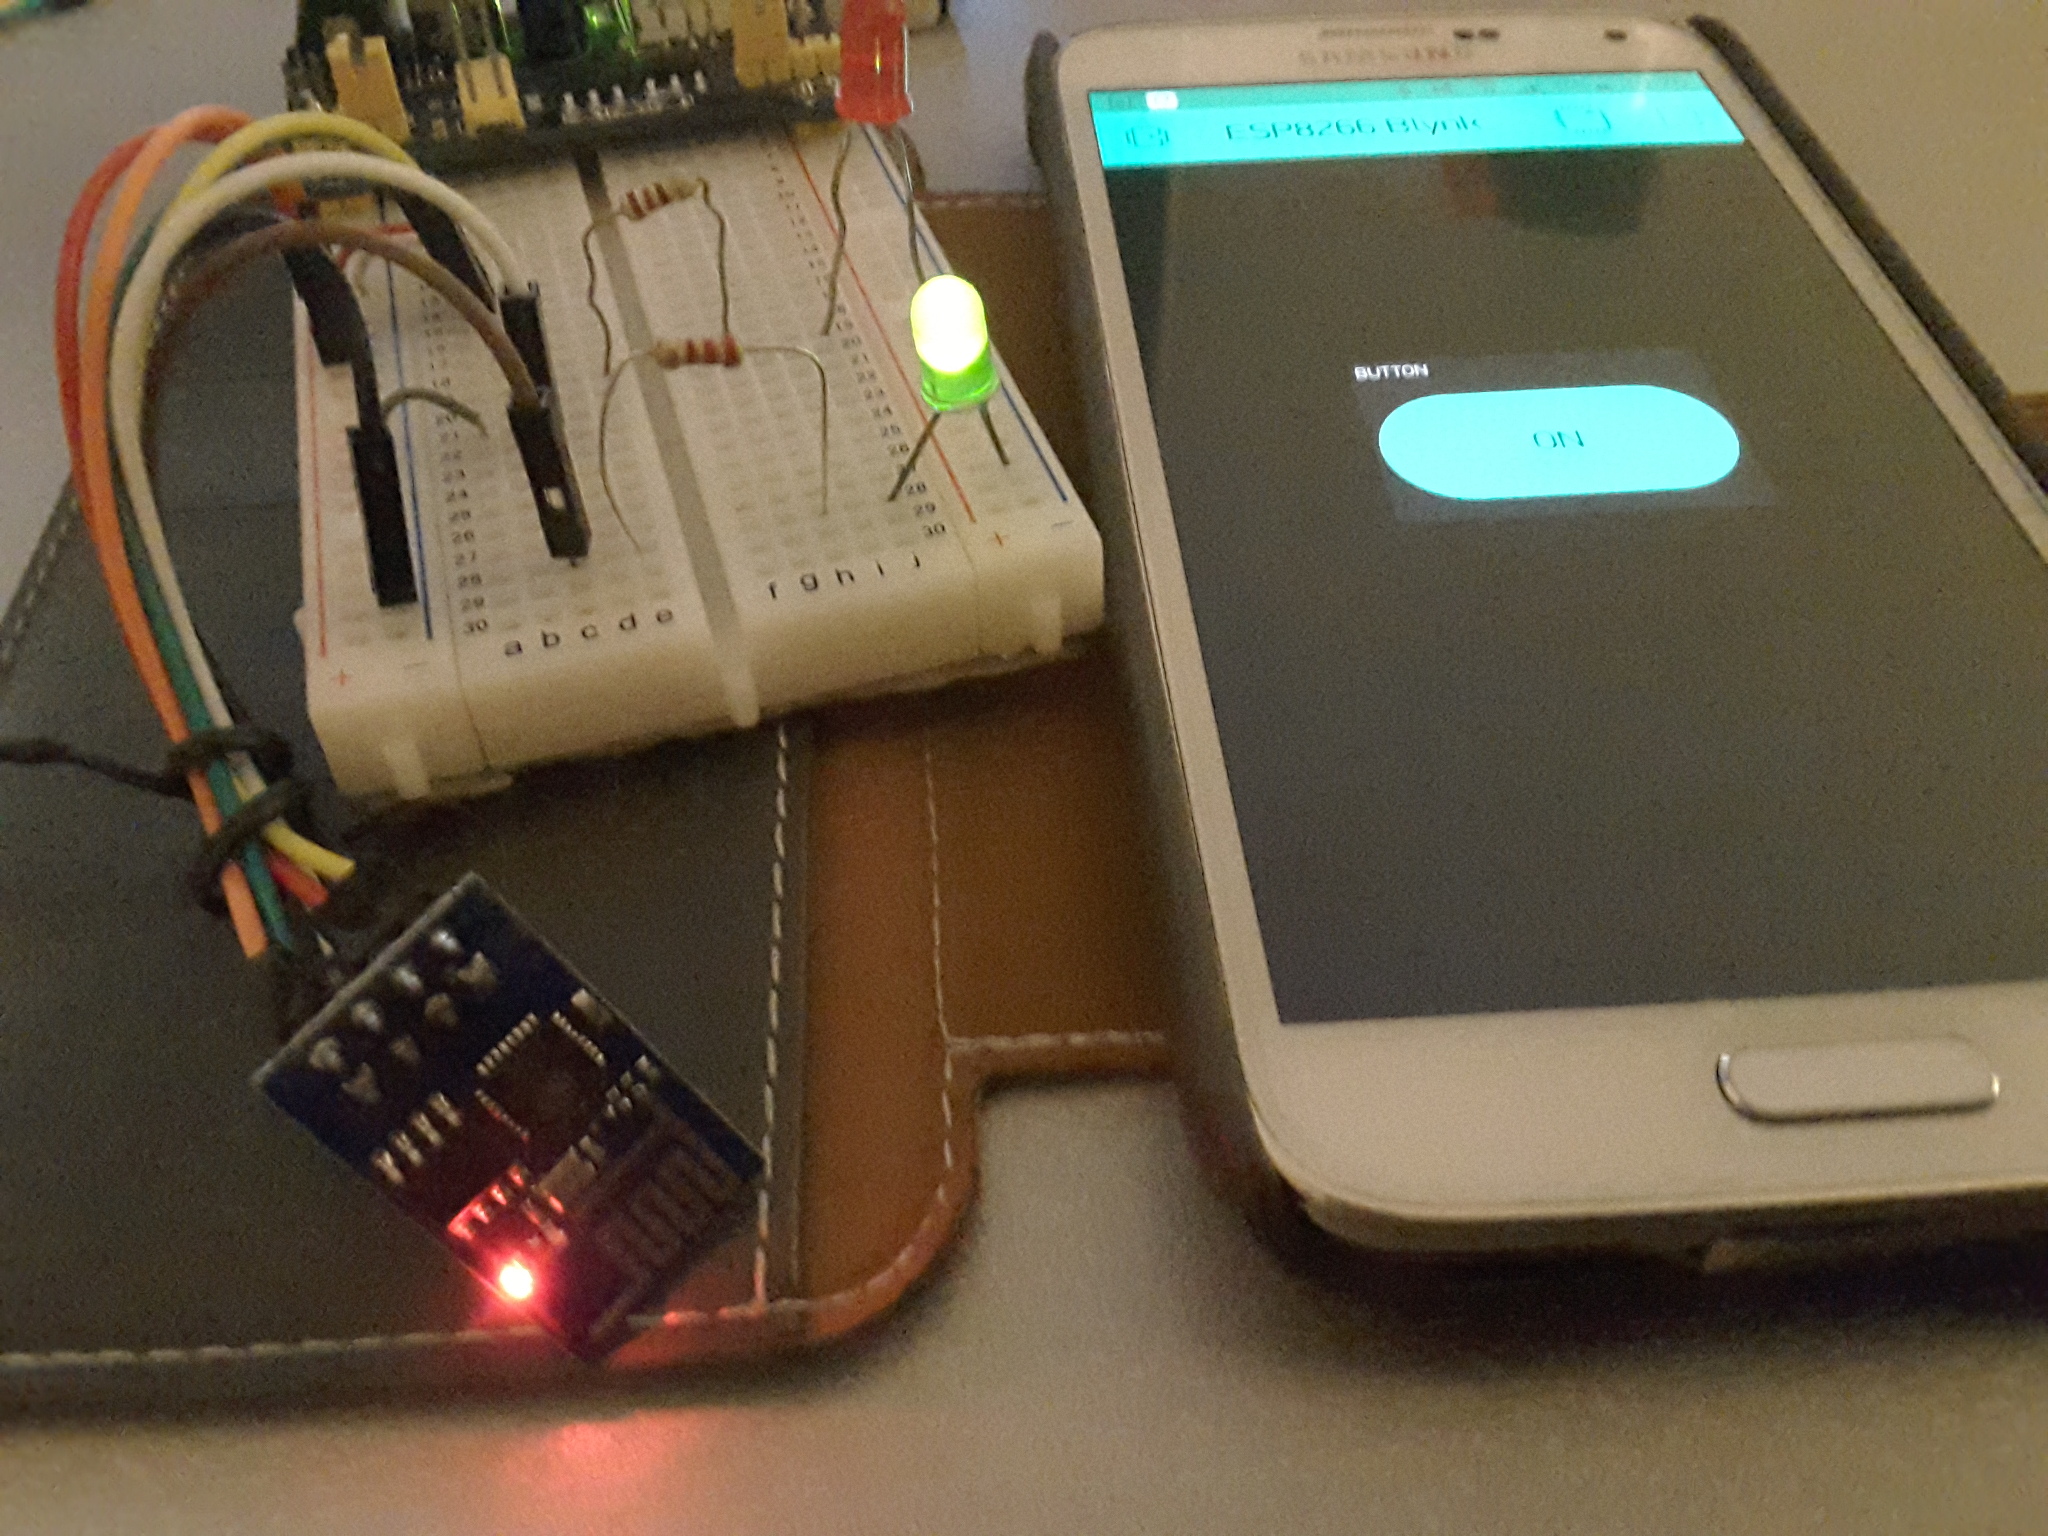
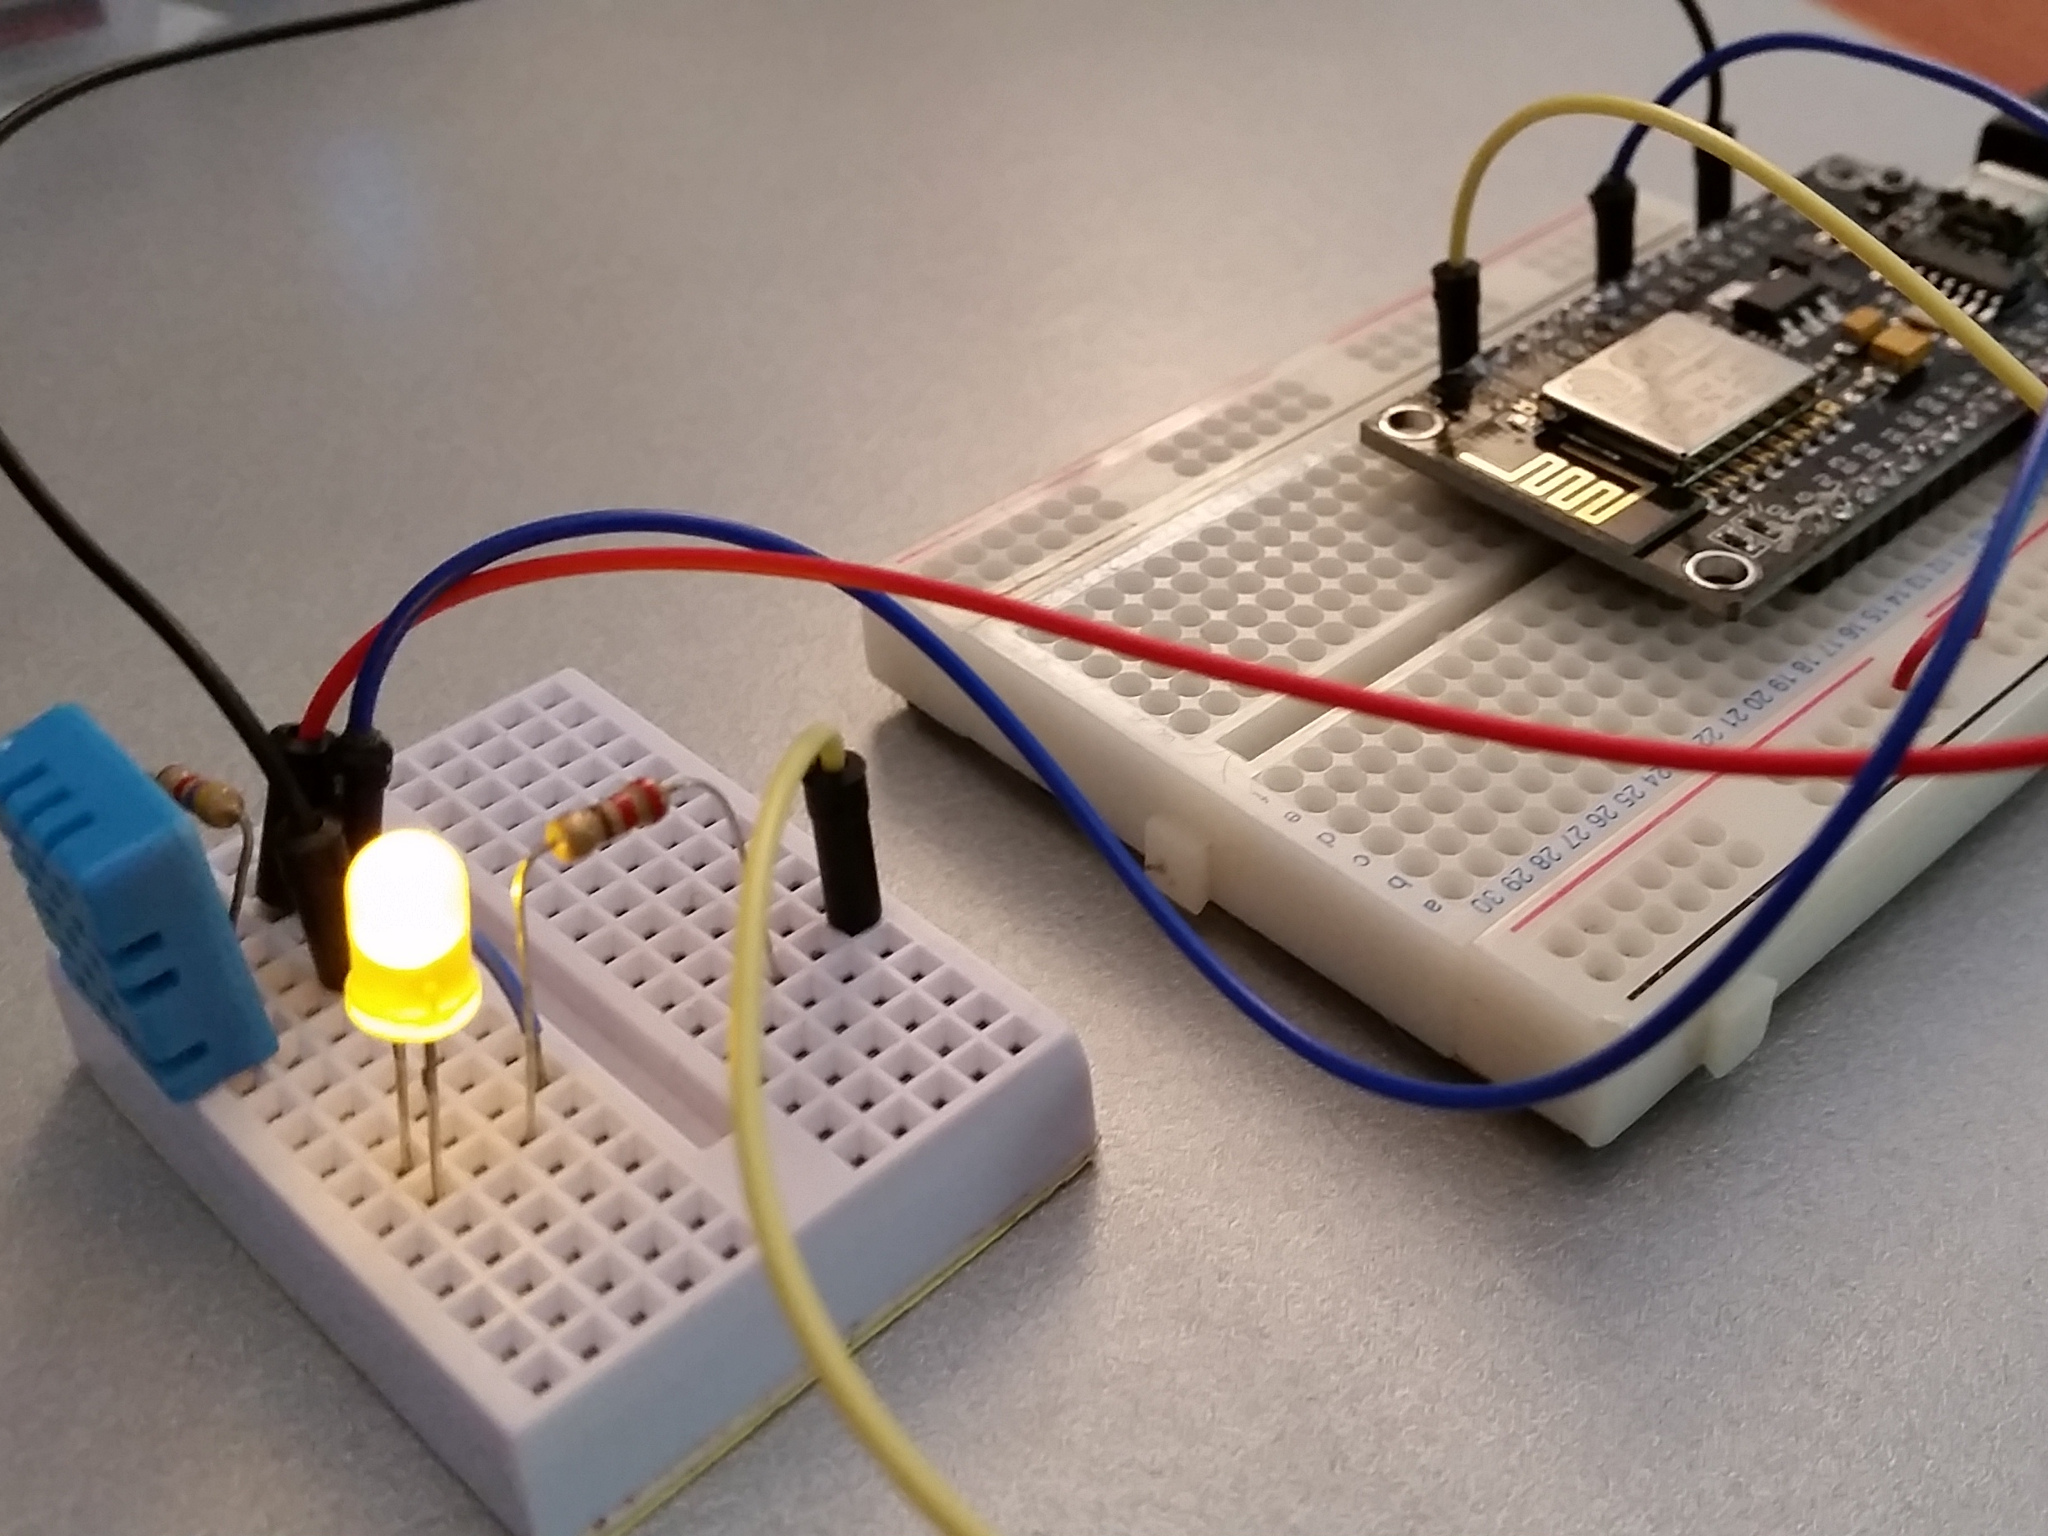
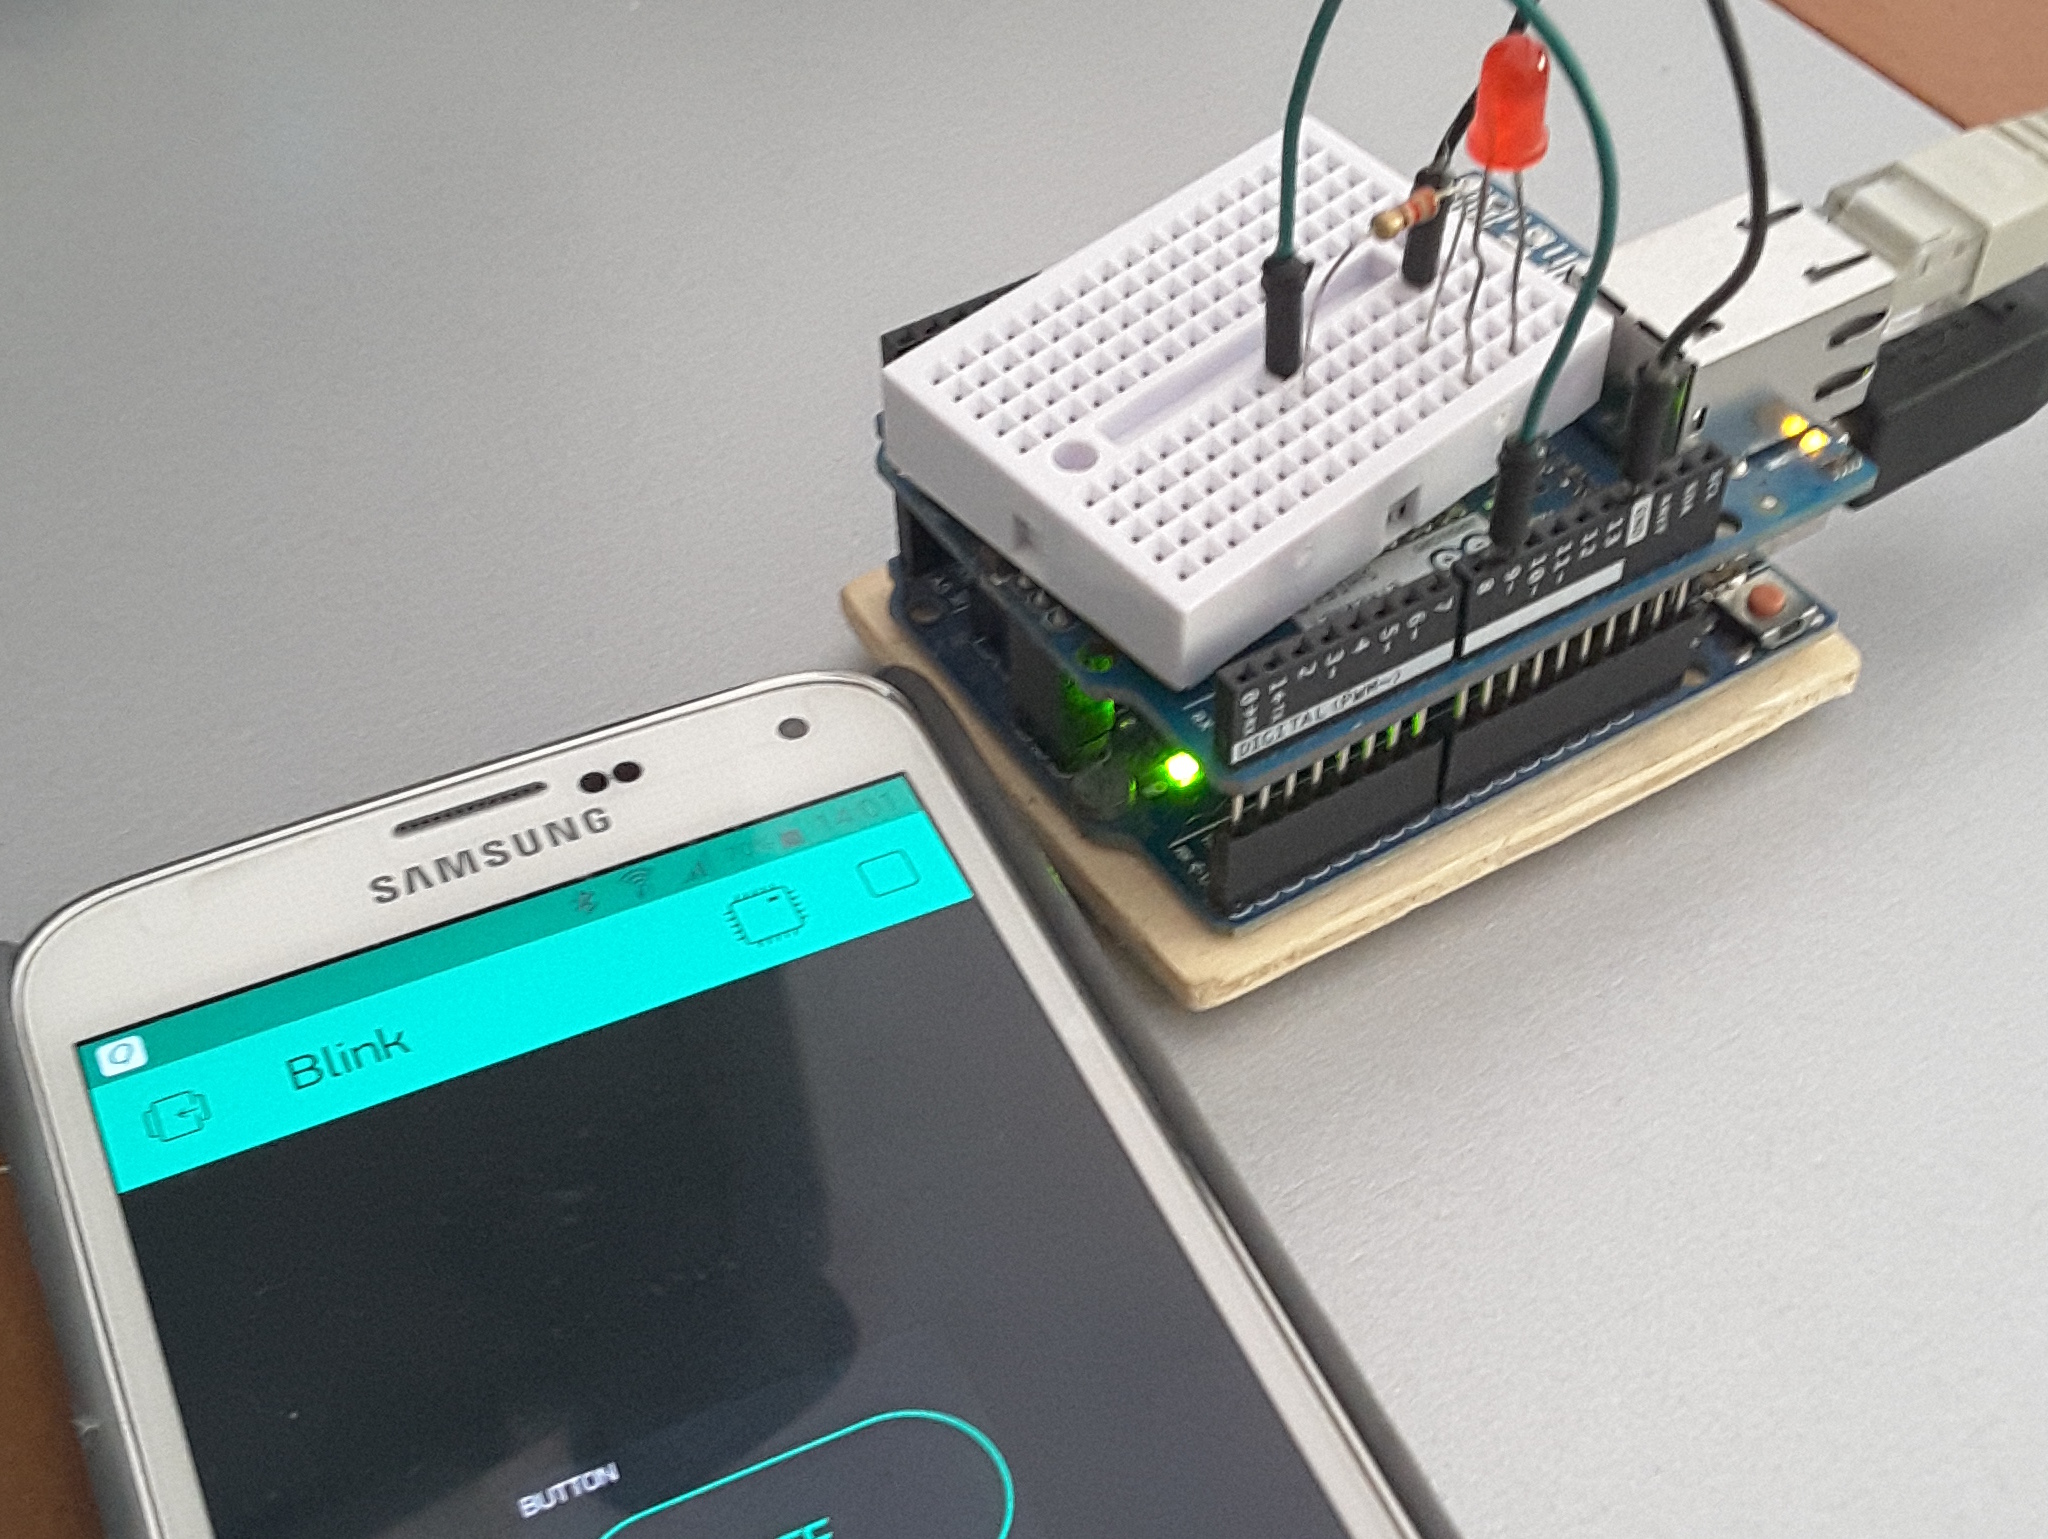
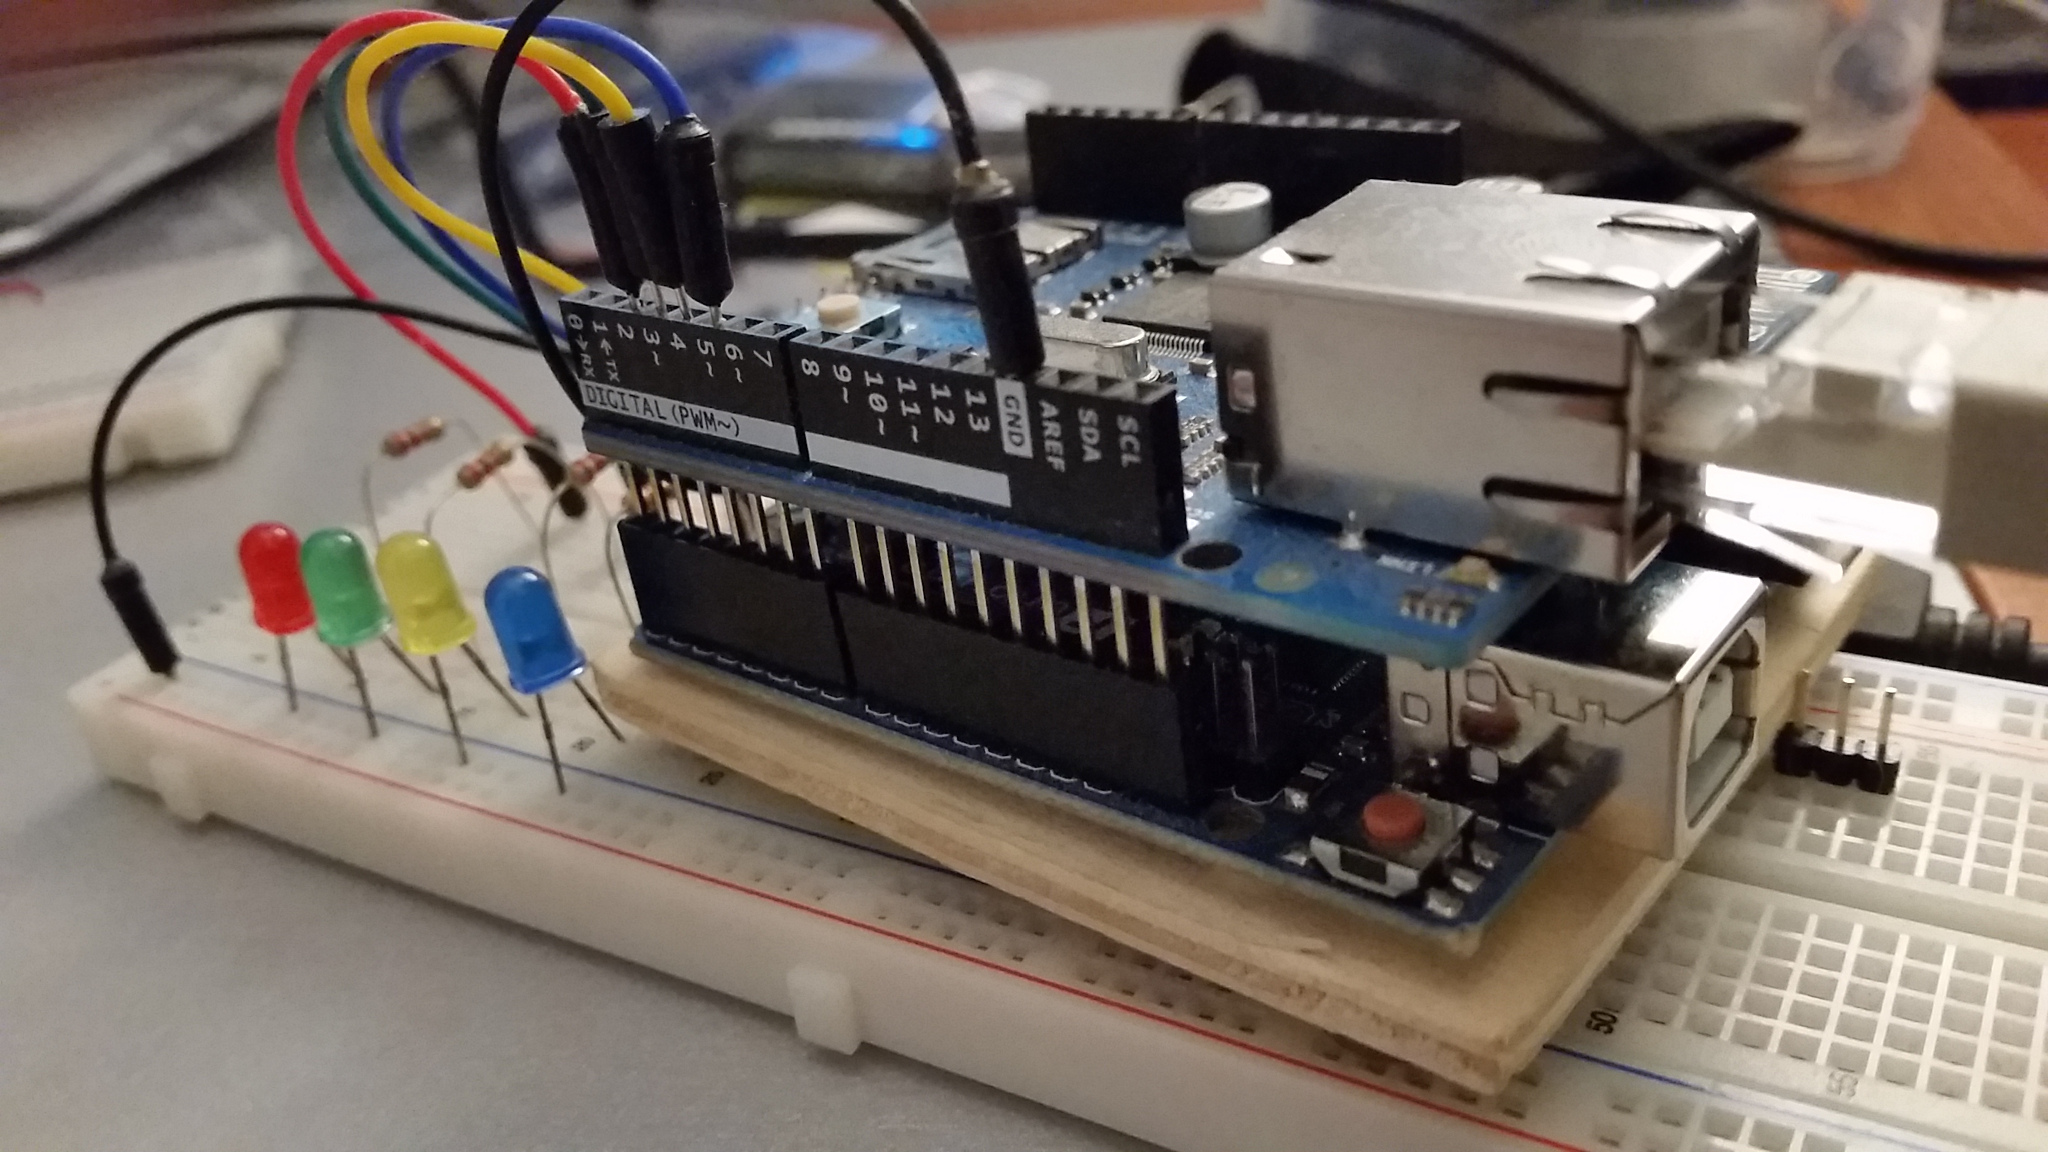
Esempio di utilizzo:
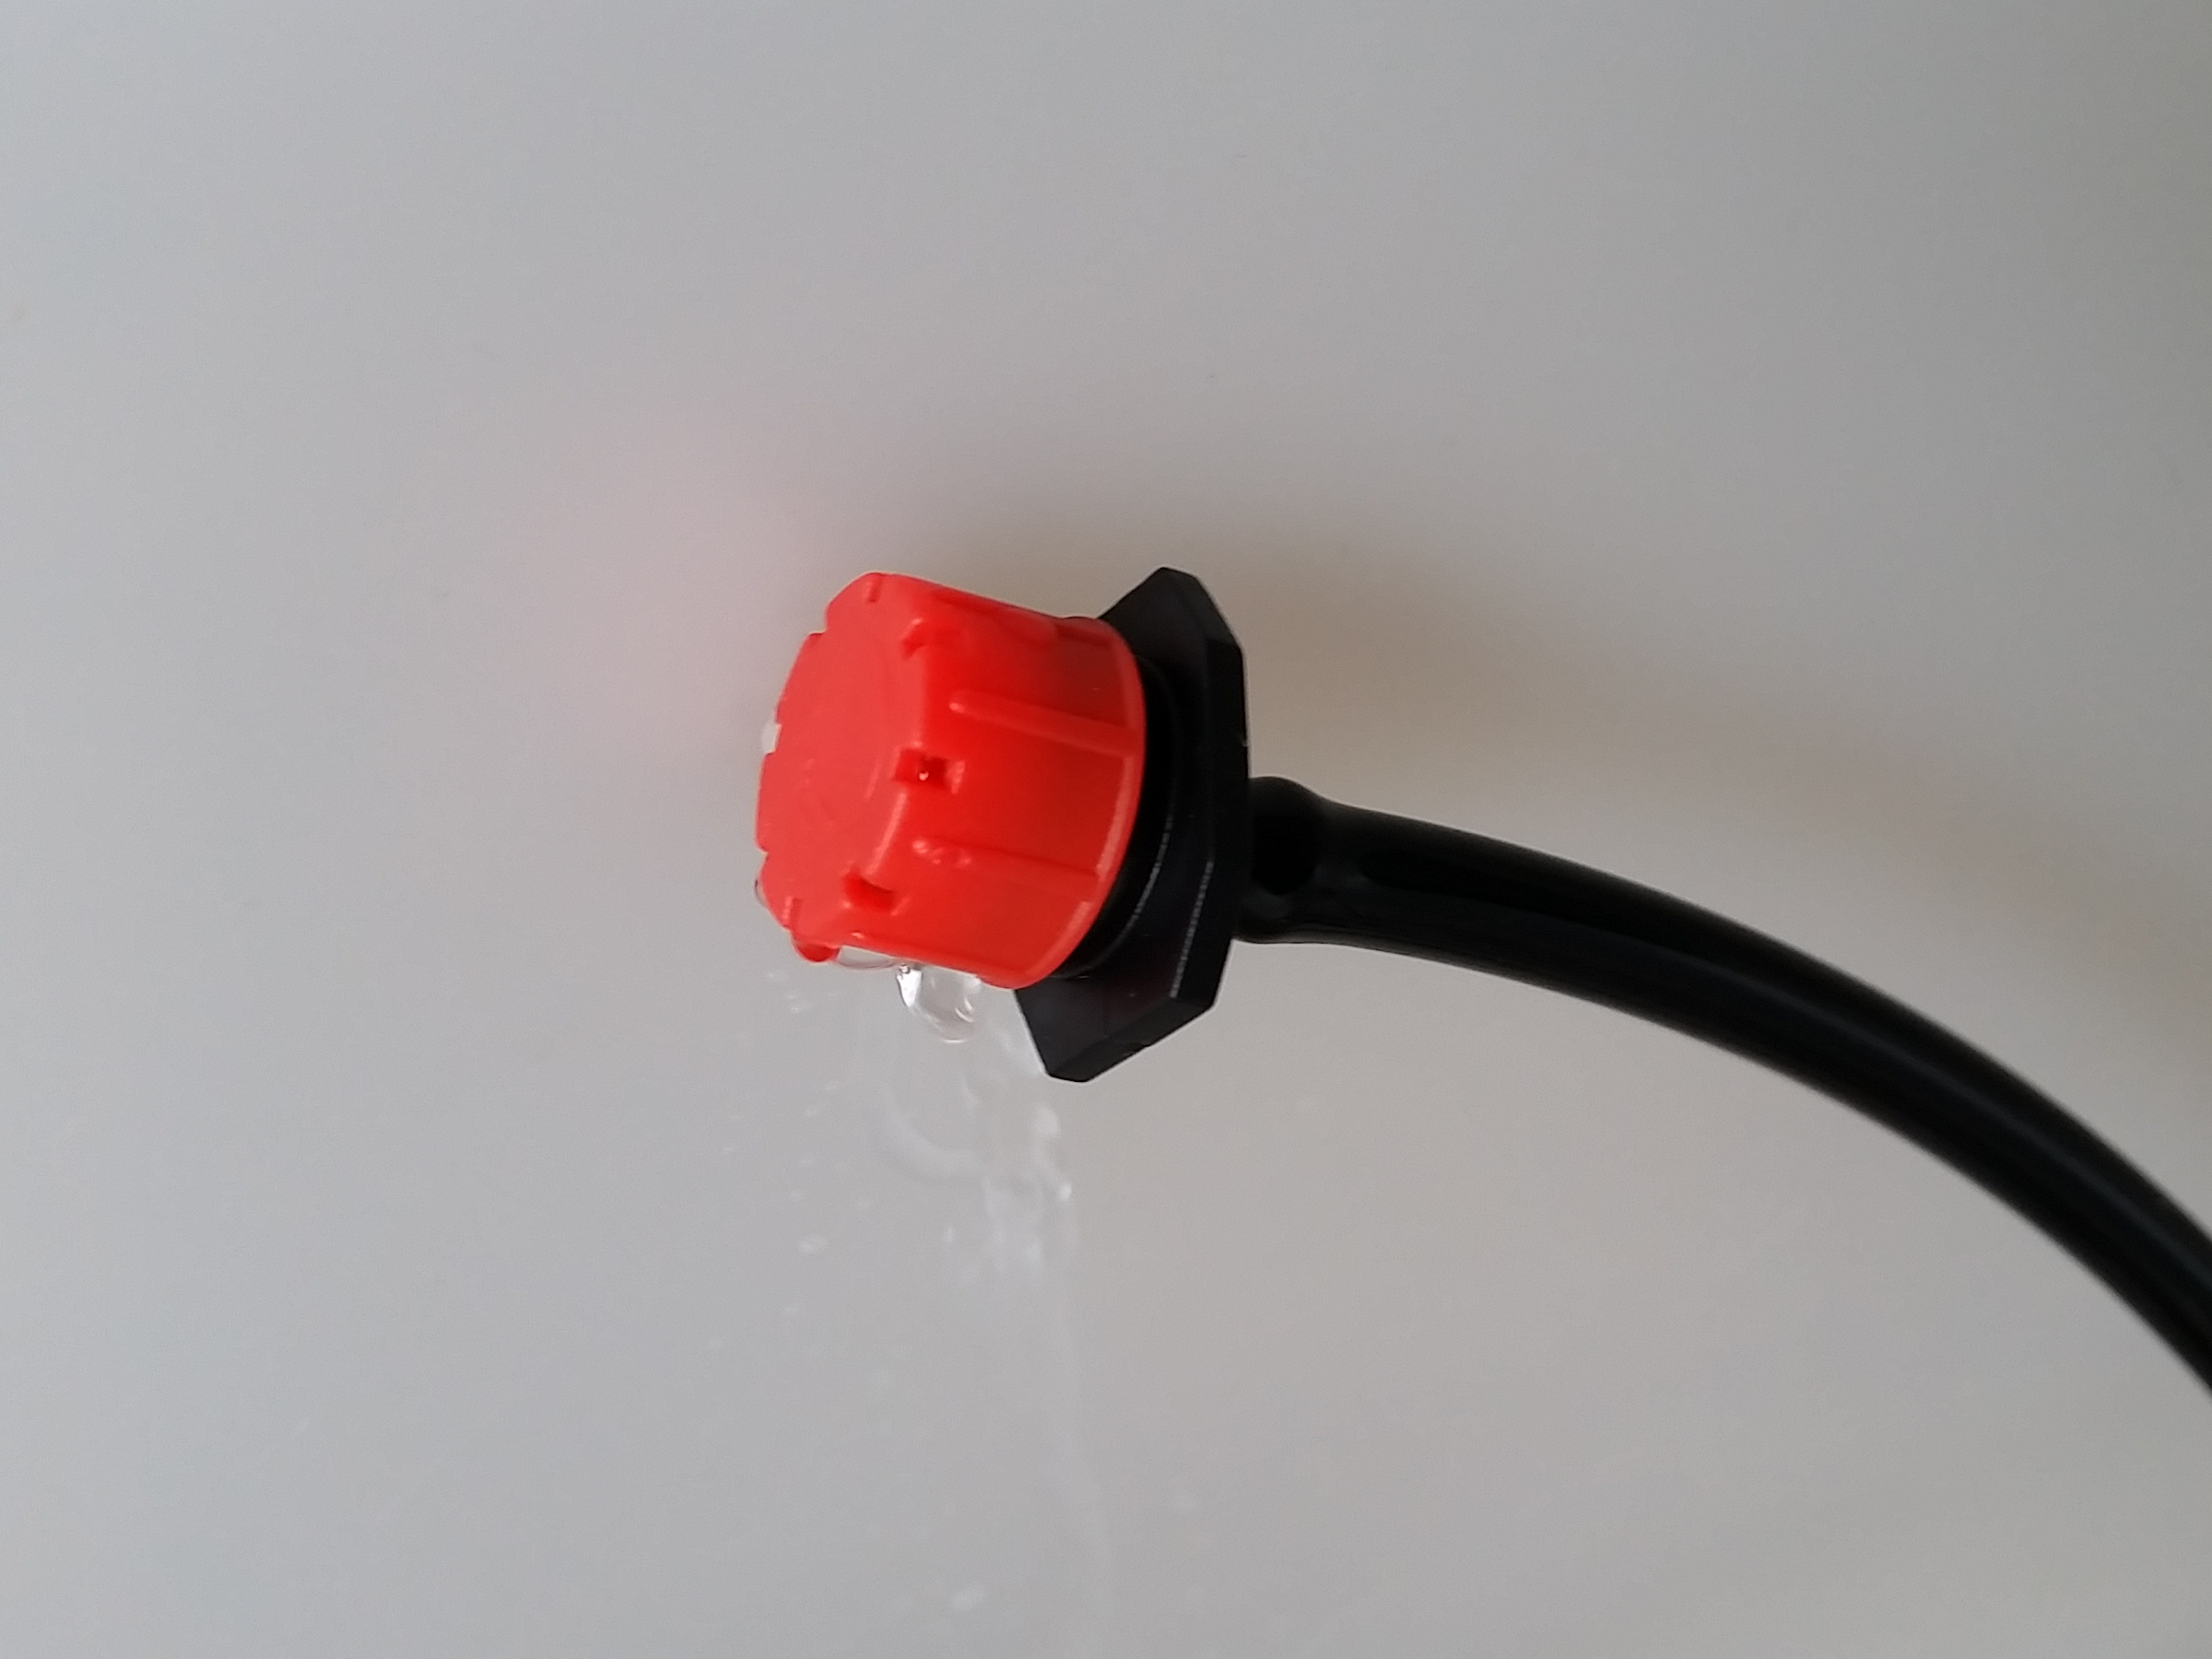
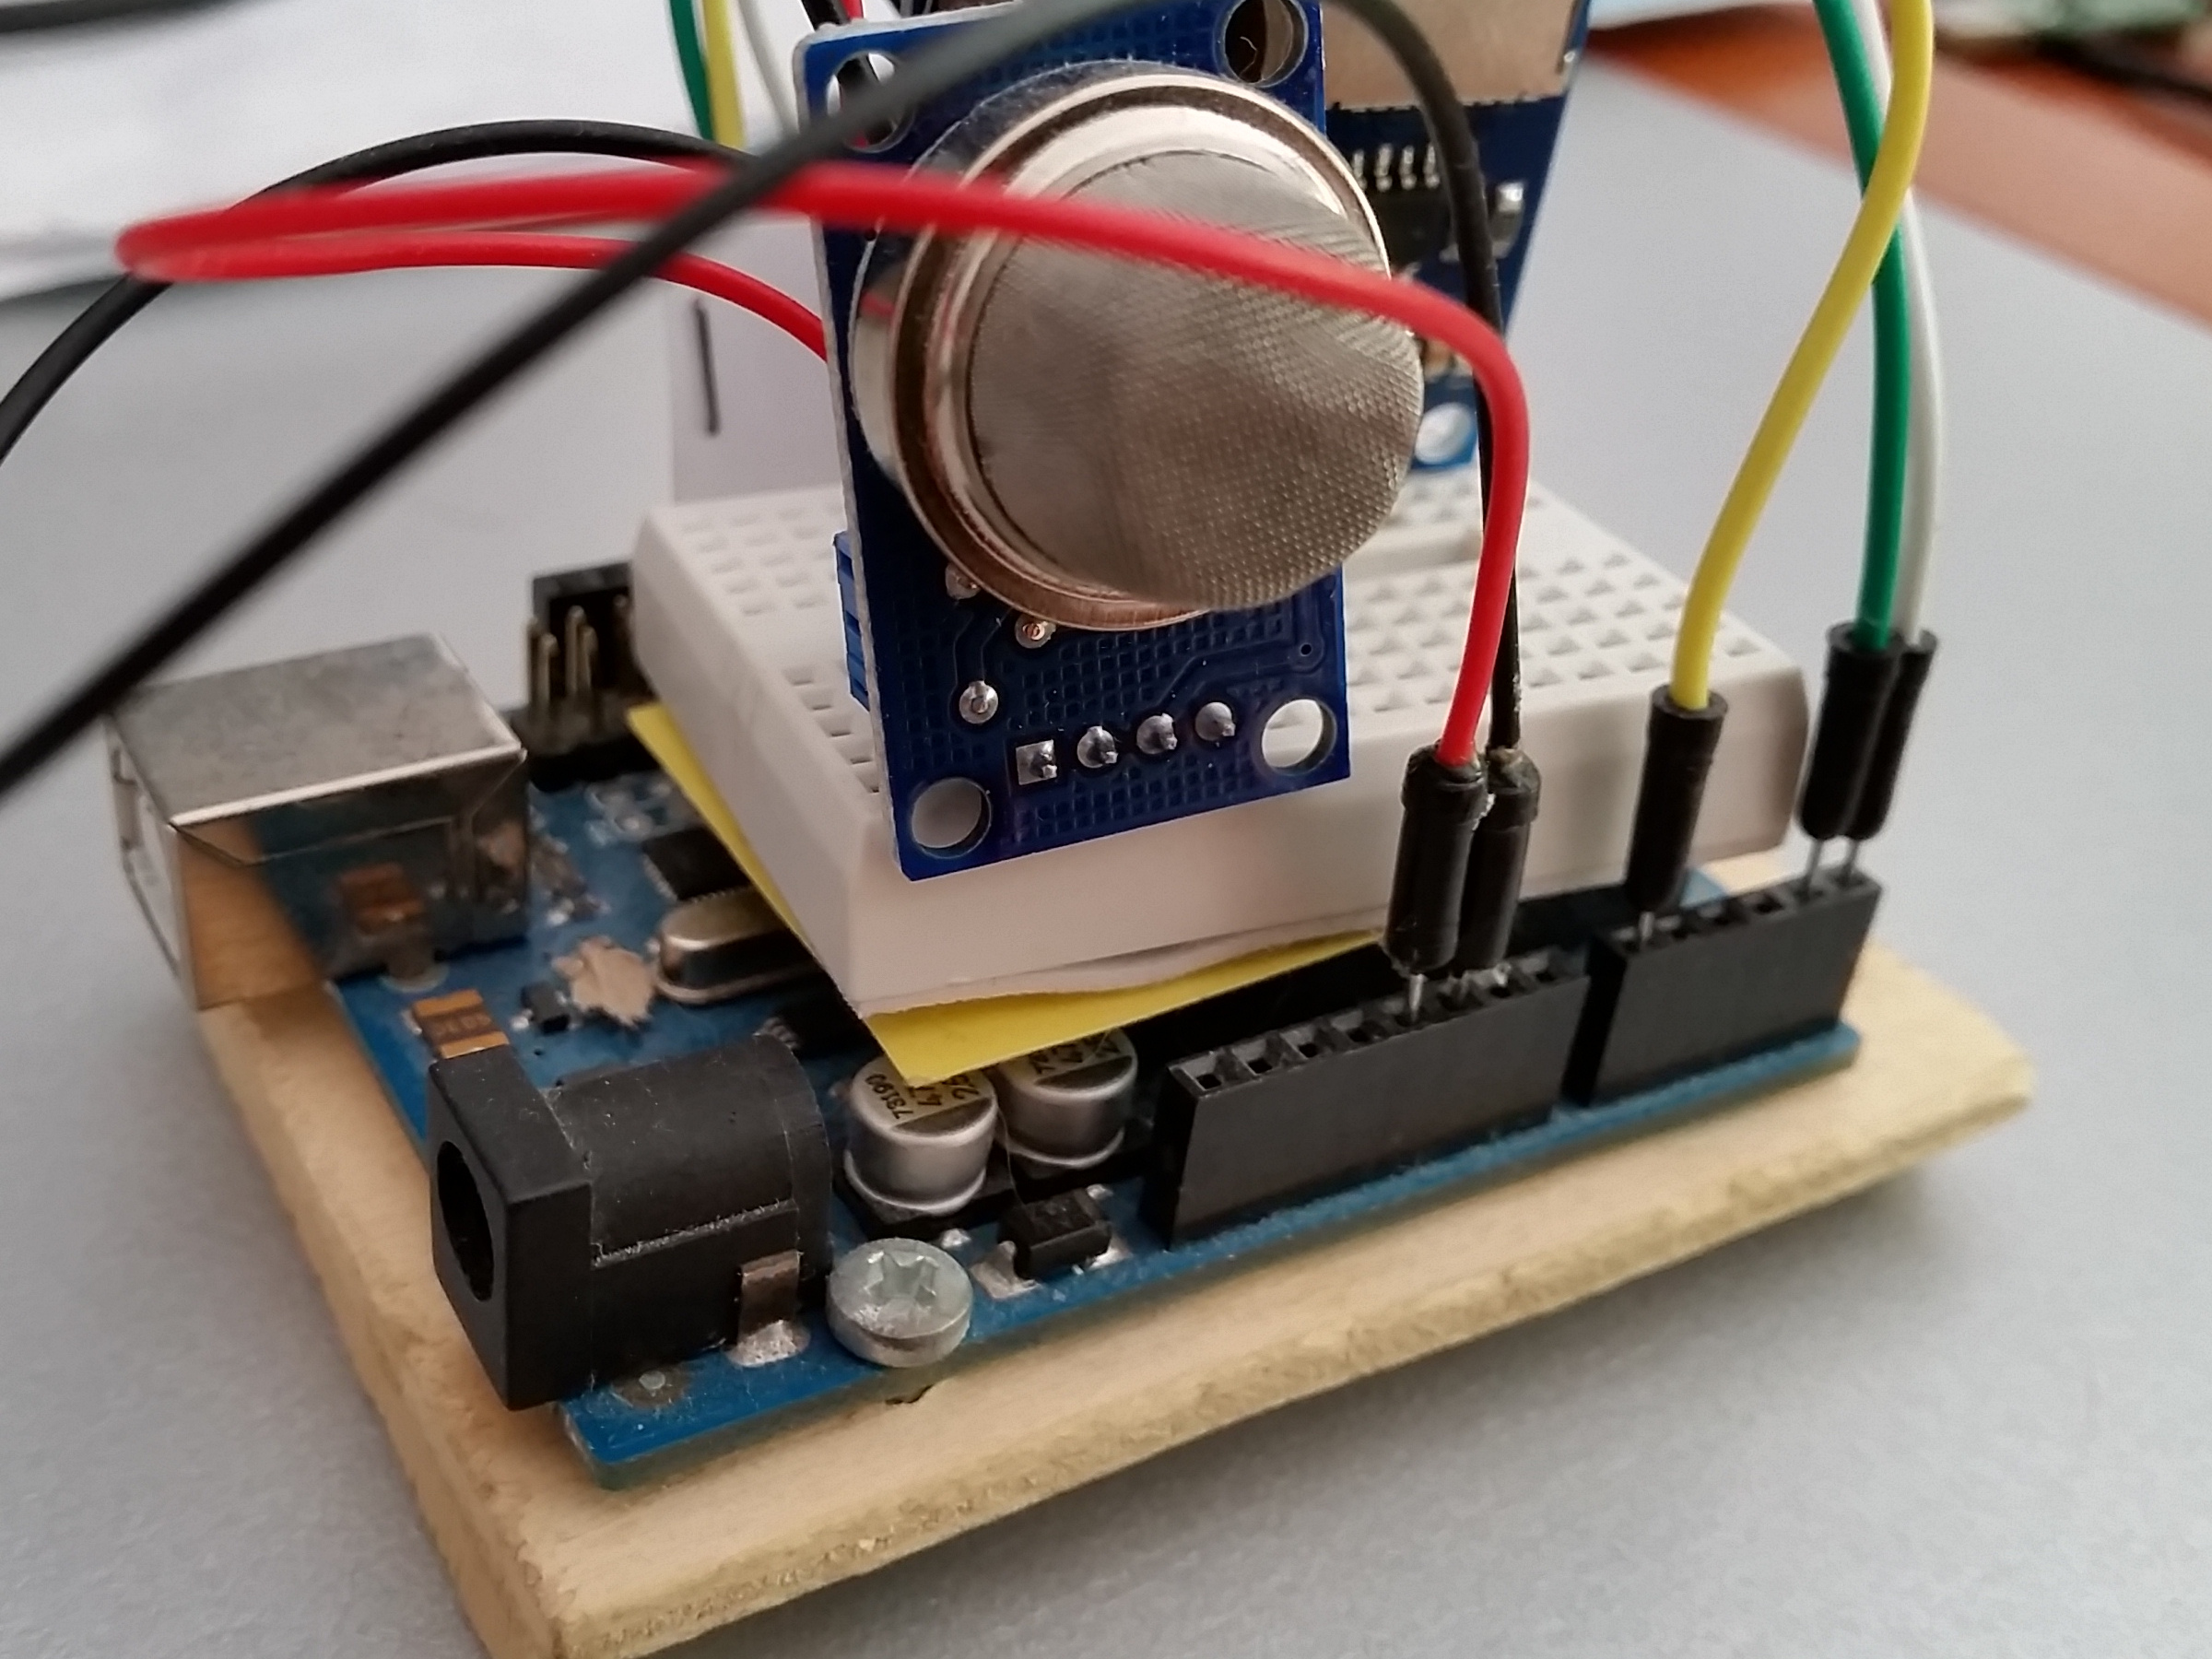
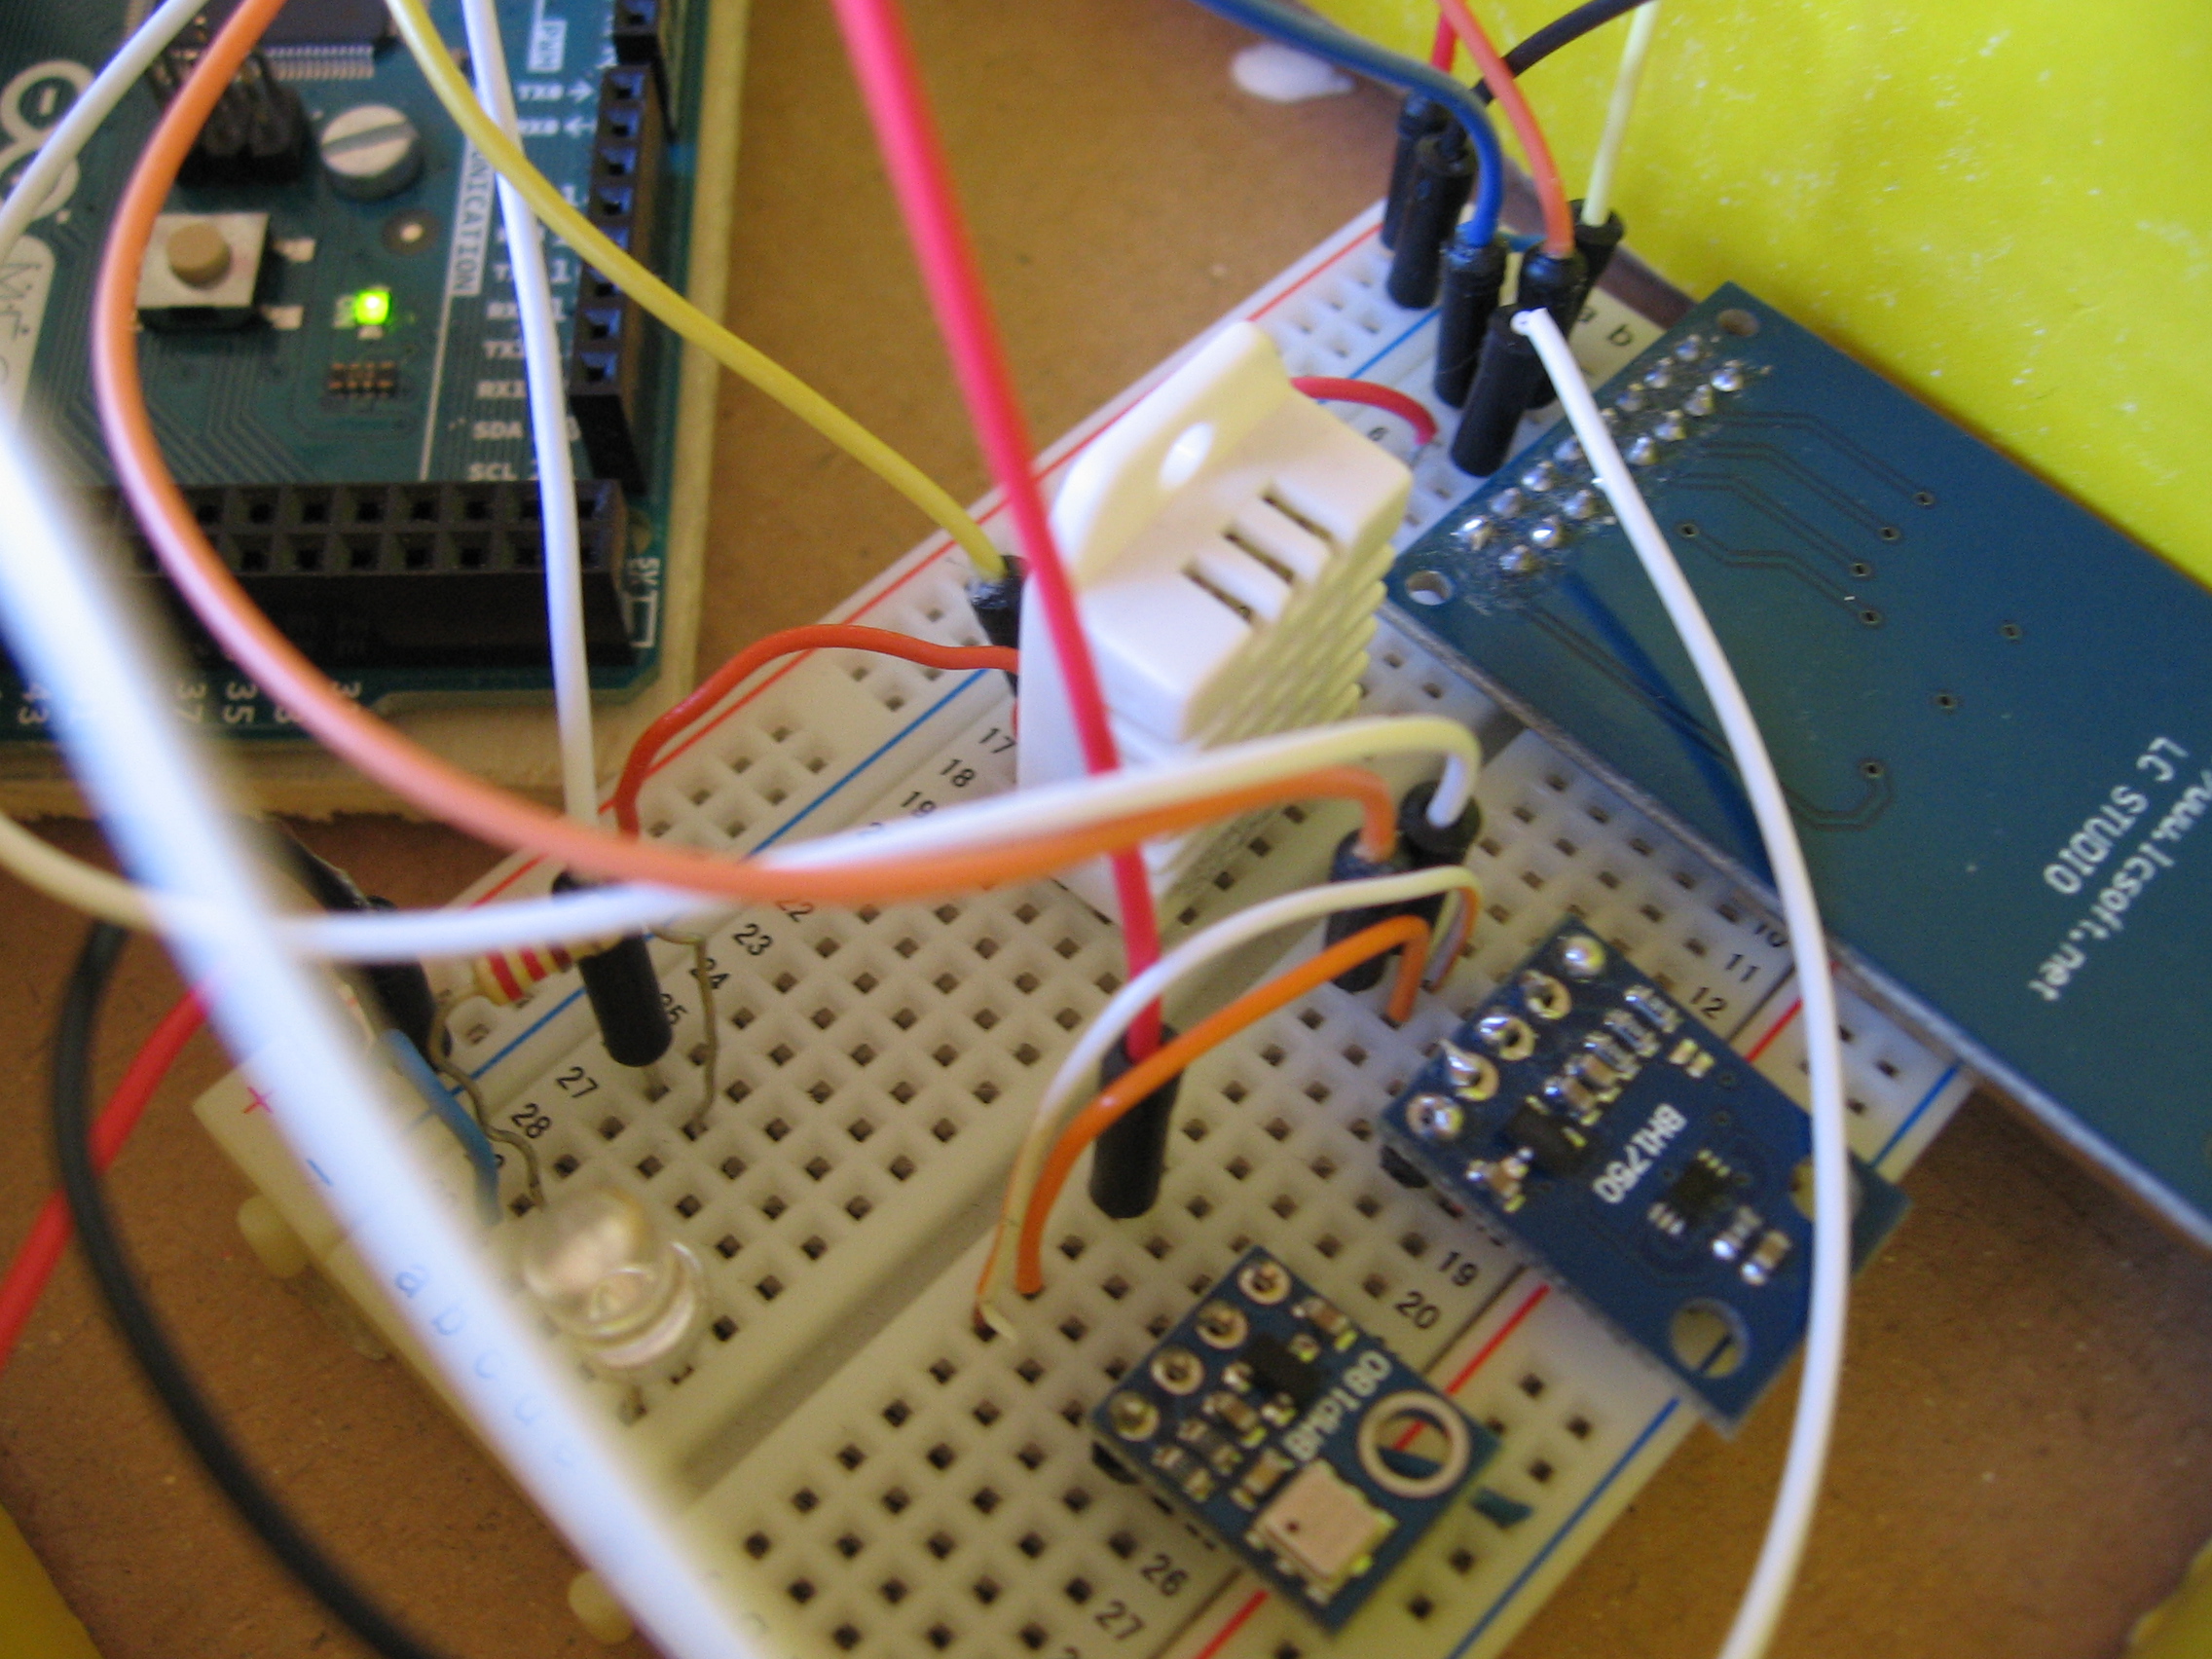
Cosa serve:
- Sensore Pulsesensor
- cavetti
Codice sorgente by RobotZeroOne:
/*  PulseSensor™ Starter Project and Signal Tester
 *  The Best Way to Get Started  With, or See the Raw Signal of, your PulseSensor™ & Arduino.
 *
 *  Here is a link to the tutorial
 *  https://pulsesensor.com/pages/code-and-guide
 *
 *  WATCH ME (Tutorial Video):
 *  https://www.youtube.com/watch?v=82T_zBZQkOE
 *
 *  modificato By Zappoco www.zappoco.altervista.org
-------------------------------------------------------------
1) This shows a live human Heartbeat Pulse.
2) Live visualization in Arduino's Cool "Serial Plotter".
3) Blink an LED on each Heartbeat.
4) This is the direct Pulse Sensor's Signal.
5) A great first-step in troubleshooting your circuit and connections.
6) "Human-readable" code that is newbie friendly."

*/


//  Variables

int PulseSensorPurplePin = 0;                 // Pulse Sensor PURPLE WIRE connected to ANALOG PIN 0
int LED13 = 13;                               //  The on-board Arduion LED


int Signal;                                   // holds the incoming raw data. Signal value can range from 0-1024
int Threshold = 512;                          // Determine which Signal to "count as a beat", and which to ingore.
int BaseValue = 500;
int TopValue  = 530;

// The SetUp Function:
void setup() {
  pinMode(LED13,OUTPUT);                      // pin that will blink to your heartbeat!
   Serial.begin(9600);                        // Set's up Serial Communication at certain speed.

}

// The Main Loop Function
void loop() {

  Signal = analogRead(PulseSensorPurplePin);  // Read the PulseSensor's value.
                                              // Assign this value to the "Signal" variable.
  Serial.print(BaseValue);                    // Send the Signal value to Serial Plotter.
  Serial.print(",");                          // Send the Signal value to Serial Plotter.

  if(Signal > BaseValue ){
    if(Signal > TopValue){
      Serial.print(TopValue);
    } else {
      Serial.print(Signal);                   // Send the Signal value to Serial Plotter.
    }
  } else {
    Serial.print(BaseValue );                 // Send the Base Signal value to Serial Plotter.
  }
  Serial.print(",");
  Serial.println(TopValue );                  // Send the Top Signal value to Serial Plotter.

  if(Signal > Threshold){                     // If the signal is above "550", then "turn-on" Arduino's on-Board LED.
    digitalWrite(LED13,HIGH);
  } else {
    digitalWrite(LED13,LOW);                  // Else, the sigal must be below "550", so "turn-off" this LED.
  }

  delay(10);

}